9 THINGS YOU NEED TO MAKE YOUR OWN TRAVEL PAINTING KIT
Have you ever tried painting outside? I definitely did as a little kid, but since I’ve been painting professionally I hadn’t thought about leaving the comfort of my perfectly lit, weather protected studio until another artist encouraged me to try it last year.
Since then, painting outdoors, or plein air painting, has become one of my favorite creative practices. It has stretched my artistic skills, and I think it’s the most effective way to capture colors and forms that I want to reinterpret later through my work.
If you want to try painting outdoors, I think it’s important to choose the right supplies so your kit will be easy to pack and take with you and so you can maximize the time you actually get to spend painting when you find something inspiring that you want to capture.
HOW TO PUT TOGETHER YOUR OWN PAINTING KIT
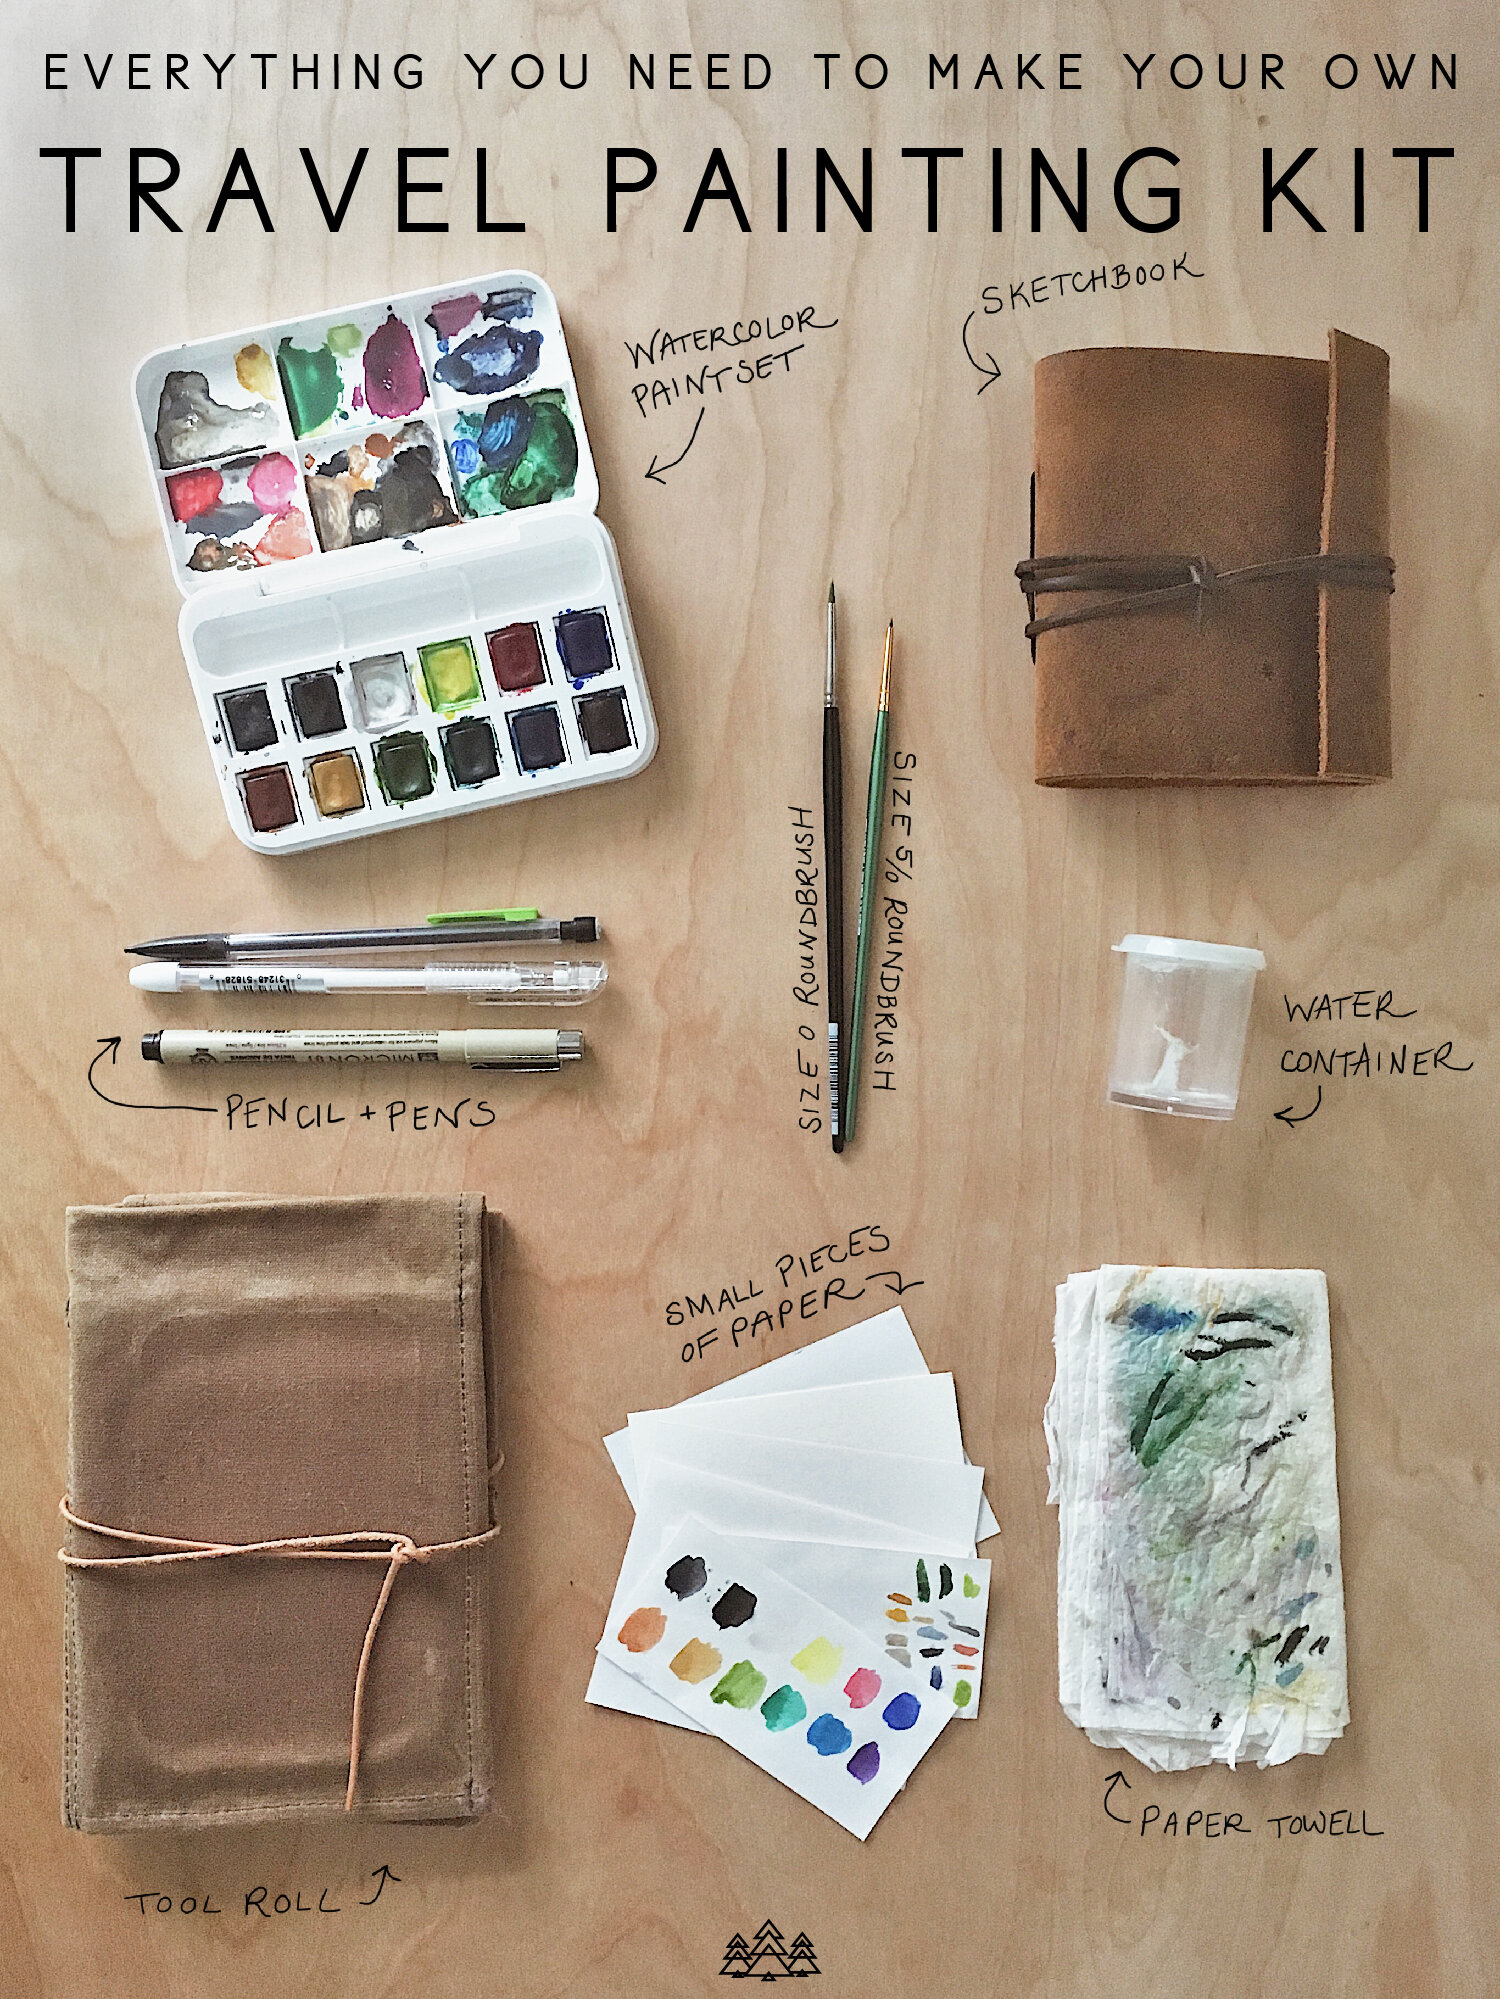
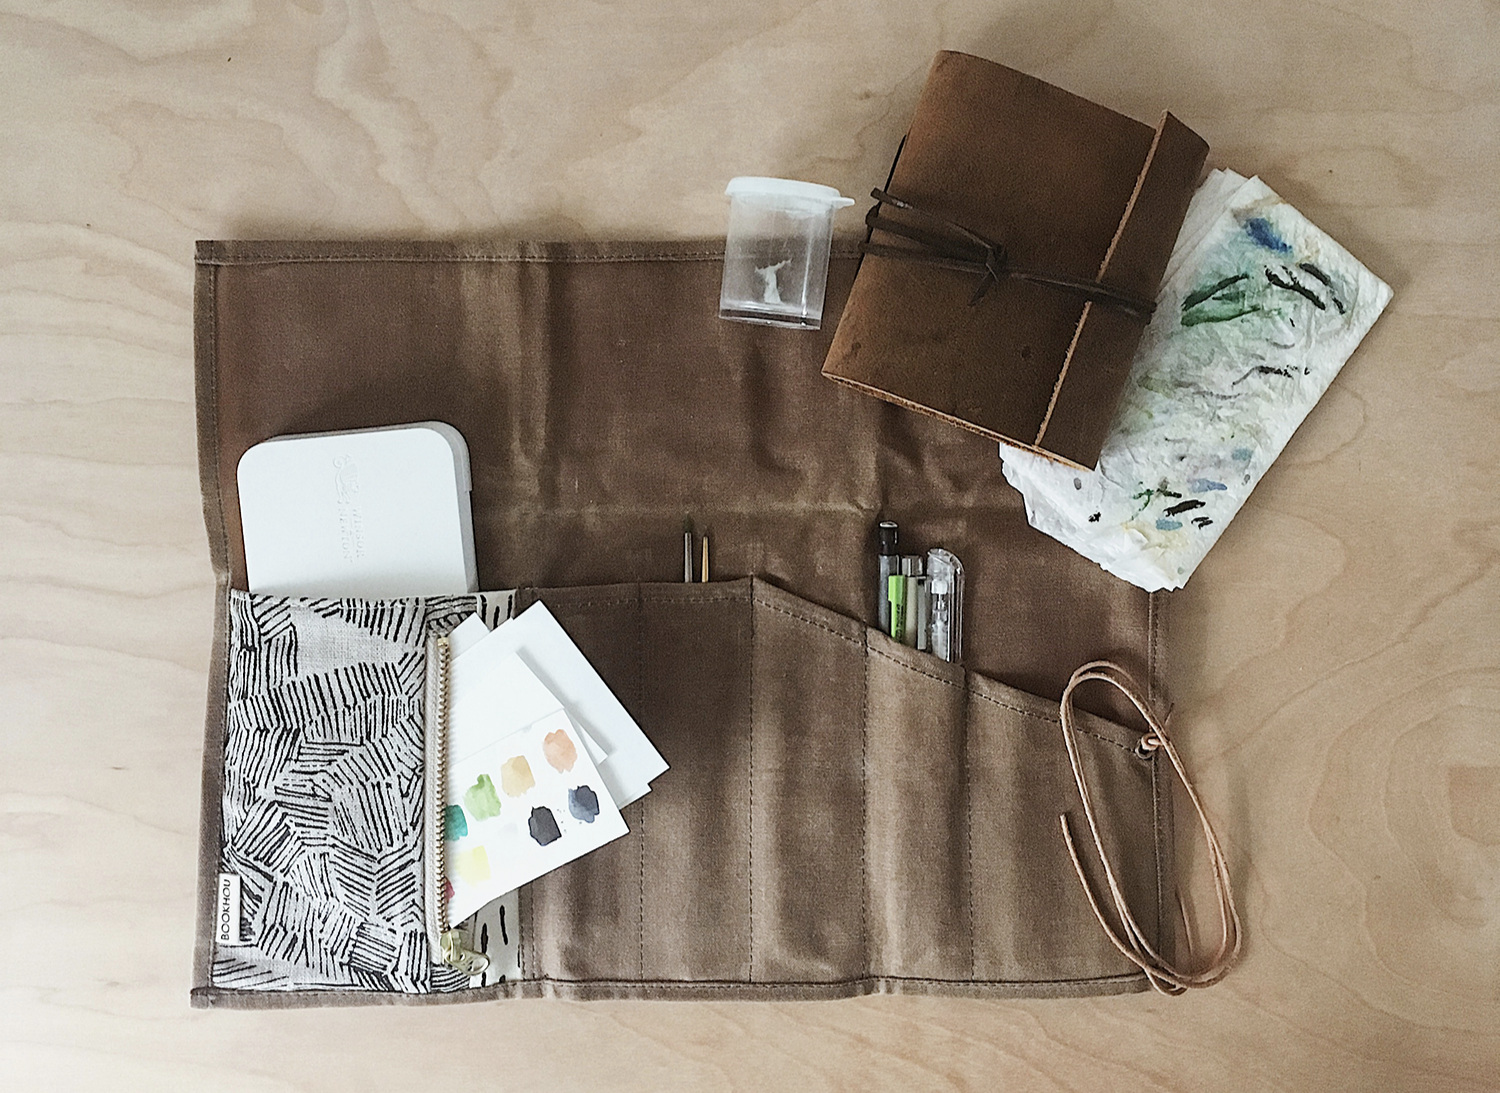
Here’s what I carry in my painting kit. Keep reading below for more details and links for each item.
1 - TOOL ROLL - The first thing you need for a travel painting kit is a tool roll to hold all your supplies and keep your brushes from being ruined. An artist tool roll that has a flap at the top to protect your brushes is a great way to transport your painting supplies. My favorite options are from Bookhou, but they can be a little difficult to get your hands on because they sell out so quickly. Here are some other options to consider: 1, 2 (same as 1 just a different color), 3 (more colors are available), 4
2 - PAINT SET - A set of watercolor pans are my preference for painting outside. You can use the lid as a palette for mixing colors, and with pans it’s easy to start painting immediately. No squeezing out paint from tubes or worrying about cleaning up a palette when you are done. Just make sure everything is (mostly) dry and close the lid when you’re ready to pack up.
3 - BRUSHES - Of course you have endless options for which types of brushes to take with you, but I am always happy with just two. I travel with a size 0 round brush and a size 5/0 round brush. The 0 brush is great for mixing colors and painting larger areas, and the 5/0 brush is perfect for any fine details. I’ve had a hard time finding individual brushes to link to online, but if you go to your local art store they should carry each of these sizes.
4 - WATER CONTAINER - You’ll need a small dish or container to hold water for adding to your paints and cleaning your brushes. I like to use a small watertight container like this one even though I don’t usually pack it with water inside. I usually have a water bottle with me if we are hiking outside, so I can use that water to fill my paint water cup when I’m ready to paint, and then I pour out the water before I put it back in my bag.
5 - PAPER TOWEL OR CLOTH - Toss in a folded up paper towel or cloth for cleaning and drying your brushes.
6 - SKETCHBOOK - It’s important to find a sketchbook that you really love and are excited to fill with paintings! There are several options, but I recommend getting one with a tie or clasp so your pages stay protected while you travel. Mine was a gift from a friend and sadly is not available online, but here are some other great options: 1 2 3
7 - SMALL PIECES OF PAPER - I also like to take several little pre-cut pieces of watercolor paper or scrap paper with me. These are useful for painting swatches of each color in your palate so you can see what colors you are working with and for testing mixed colors before you use them on your sketchbook page. Sometimes, if I am trying to pack up quickly, I also like to place one of these papers over my painting in my sketchbook so I don’t have to wait until it is 100% dry. Then I don’t have to worry about it smearing or getting on the opposite page of my sketchbook.
8 - PENCIL AND PENS - While I would not consider them to be necessary supplies, I also like to travel with a pencil and illustration pens. For the most part, I avoid drawing with pencil first when I am painting outside (more on my process below), but sometimes, especially when it’s difficult to get the scale right, it can be helpful to pencil in some guidelines first. I always carry a mechanical pencil (so I don’t need a sharpener), a 0.1 micron pen, and a white gel pen.
9 - BAG - (not pictured) Even though most of my supplies fit into my tool roll, I also carry a bag that can hold the tool roll, my sketchbook, and water container. I recommend getting a dry bag so that your paintings and supplies will be kept safe and dry. Especially in places like Norway, a rainstorm can come out of nowhere, so it’s really nice to be able to throw everything in a waterproof bag.
MY PROCESS FOR PAINTING OUTSIDE
Now that you have all the supplies you need, time to get painting! Here’s a quick overview of my process for painting outdoors and some tips that might be helpful.
1 - Choose your setting or subject.
This may be difficult at first, but the more you paint the more you will learn what you like to paint, so the key is to just get started. You can choose something like a great mountain view, or something small like a fern.
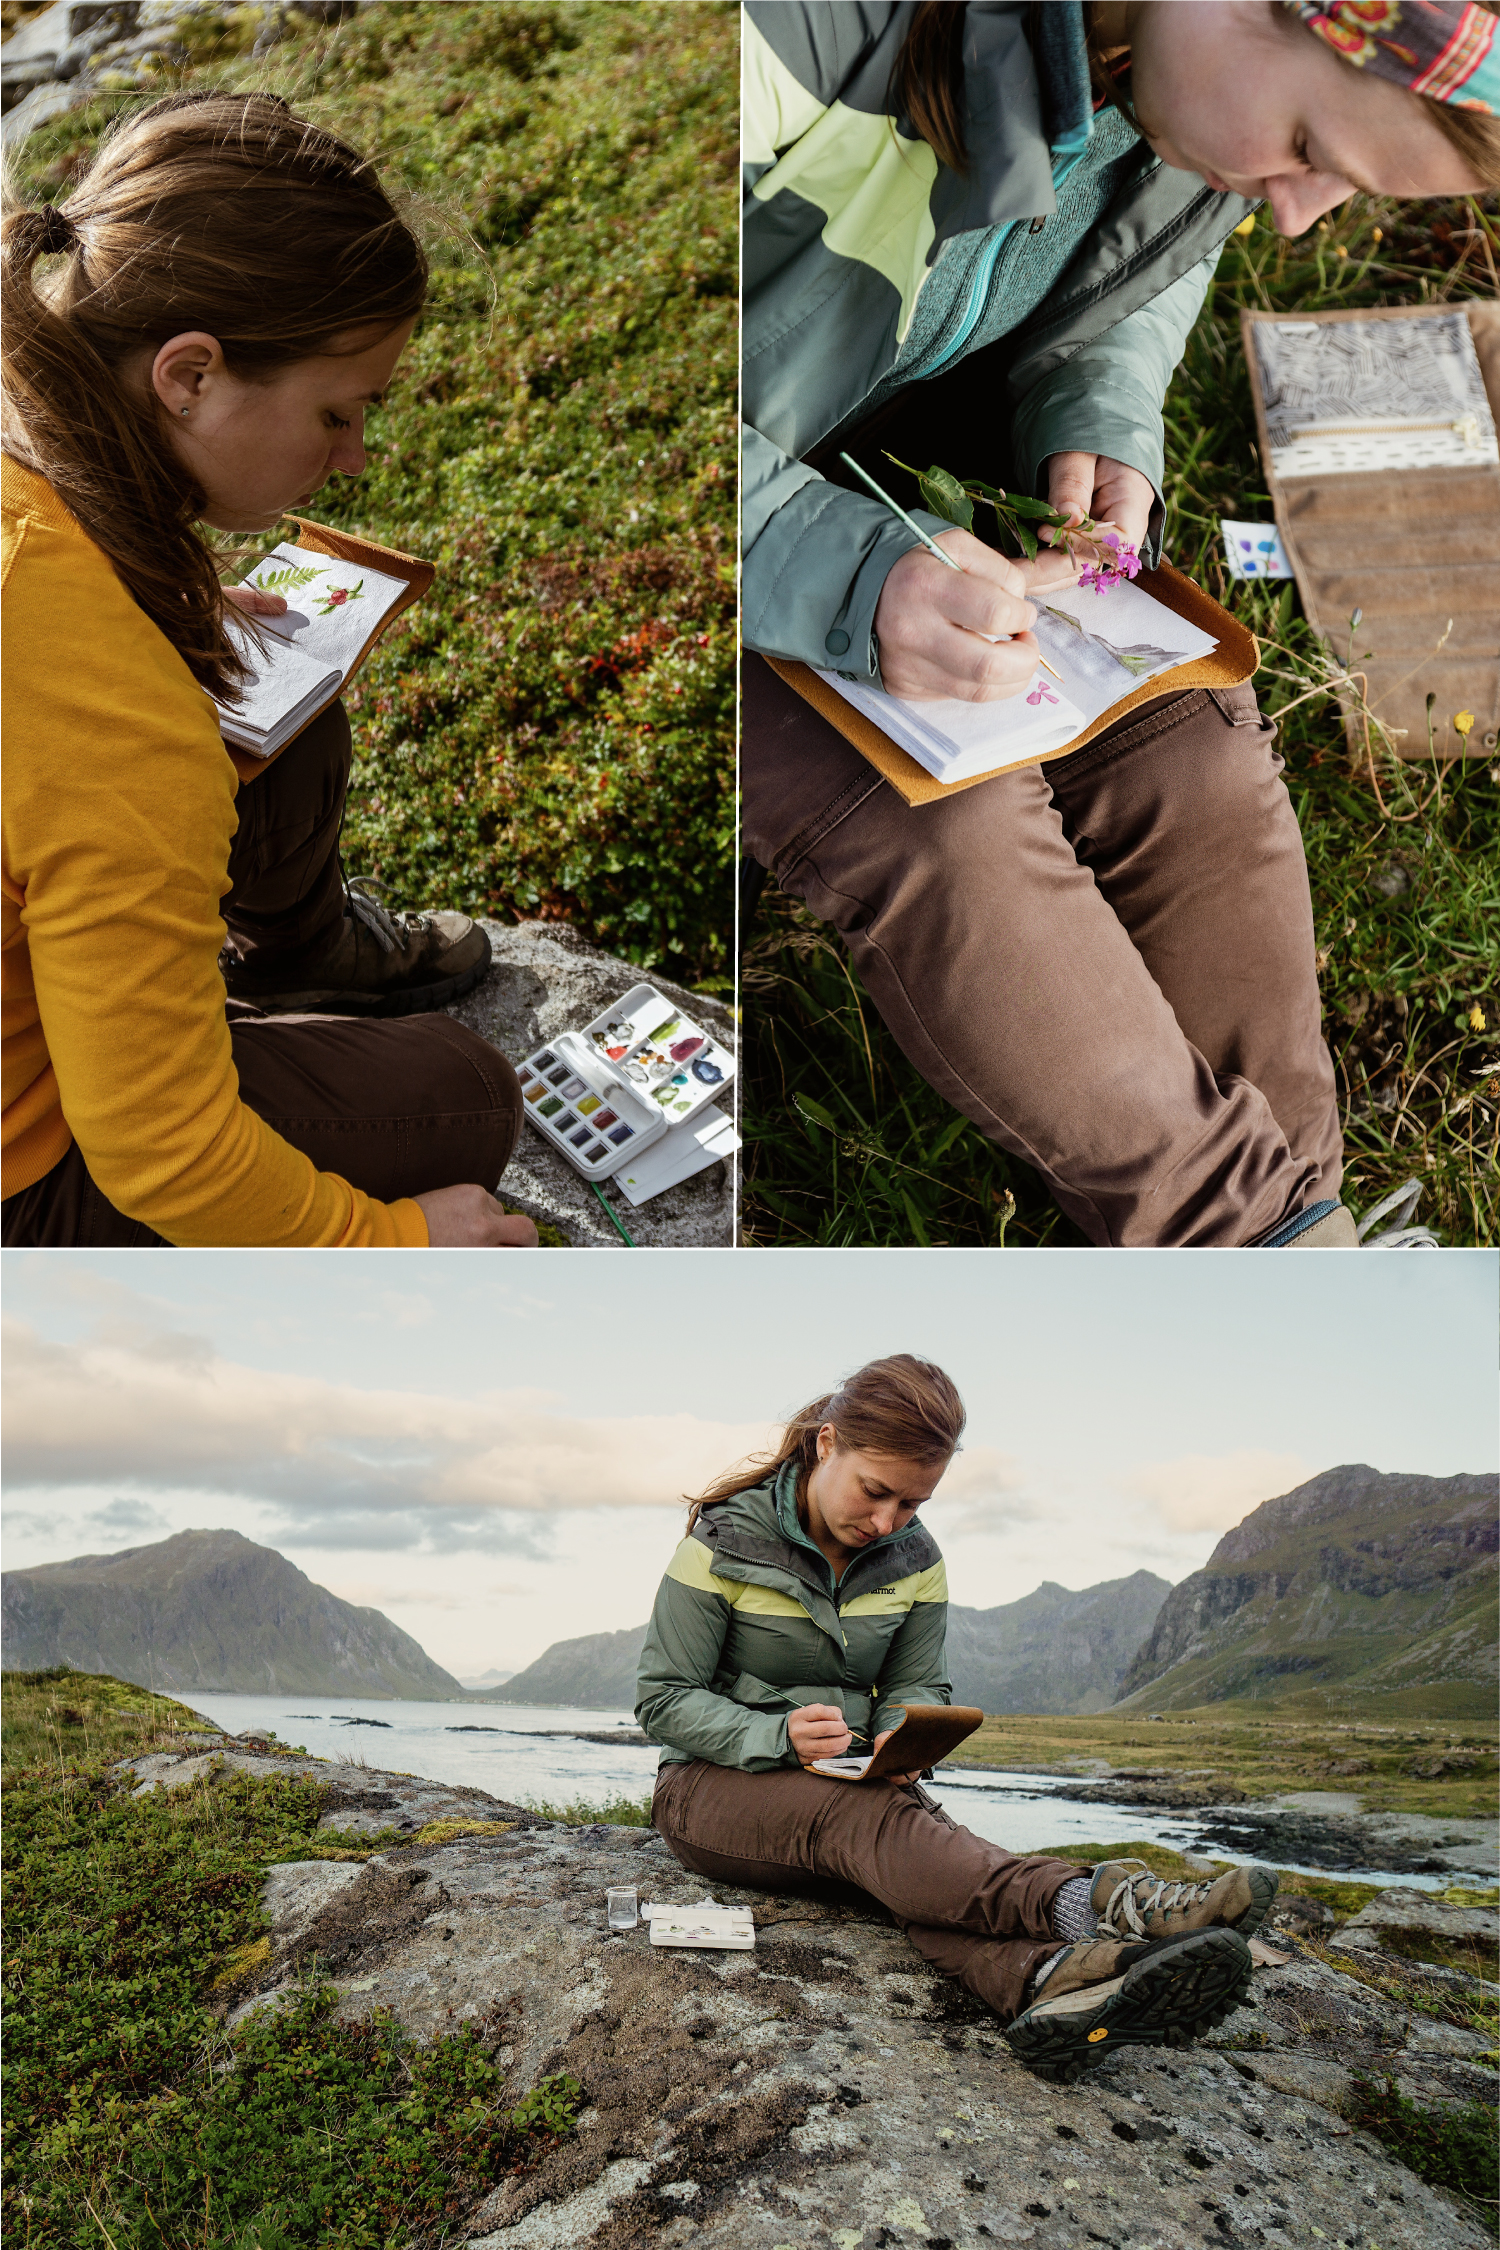
If we are hiking, a great location will usually jump out at me, and then I work on finding a spot with a great view I can sit and spread out my supplies.
2 - Set up your supplies and get painting.
Once you have chosen your spot, get out your supplies, fill your water cup, and get started!
One thing to keep in mind when you set up is wind and breeze. While breeze can feel great when you are outside, it can also knock over your water and blow away any small pieces of paper that are not weighted down, so make sure to tuck your color swatches and any loose paintings where they will stay safe.
all my supplies set up on a rock in norway
A few more tips
You don’t have to capture every single detail about what you see. Maybe just focus on capturing some colors, or some shapes or designs. It’s ok if the surrounding details aren’t exactly as they look in real life.
I like to stick with painting directly on the page vs sketching in pencil first. It’s just another way to focus more on capturing what is inspiring me than on painting a perfectly accurate representation of what I’m seeing.
Try to finish the whole painting while you are there in person vs. saving most of the work for later. Again, this is a good way to keep yourself from focusing on too many details, and it will help you keep your painting fun and simple. Sometimes you can’t finish though, (especially if it starts raining) and that’s ok. If this happens, I try to take a photo and finish up as soon as possible, because the longer I wait, the less likely I am to actually finish.
painting a rocky coastline in maine
Here I did a rough pen sketch of the scenery and then focused mainly on capturing colors on the side
If you’ve been thinking about painting outside but haven’t tried it yet, I hope this post has encouraged you to try and maybe has given you some tips on how to start!
Please don’t hesitate to comment if you have any more questions about this topic or have some of your own plein air painting tips to share!
Some links above are affiliate links, and we may earn a small commission on purchases made through those links.


